1
/
of
6
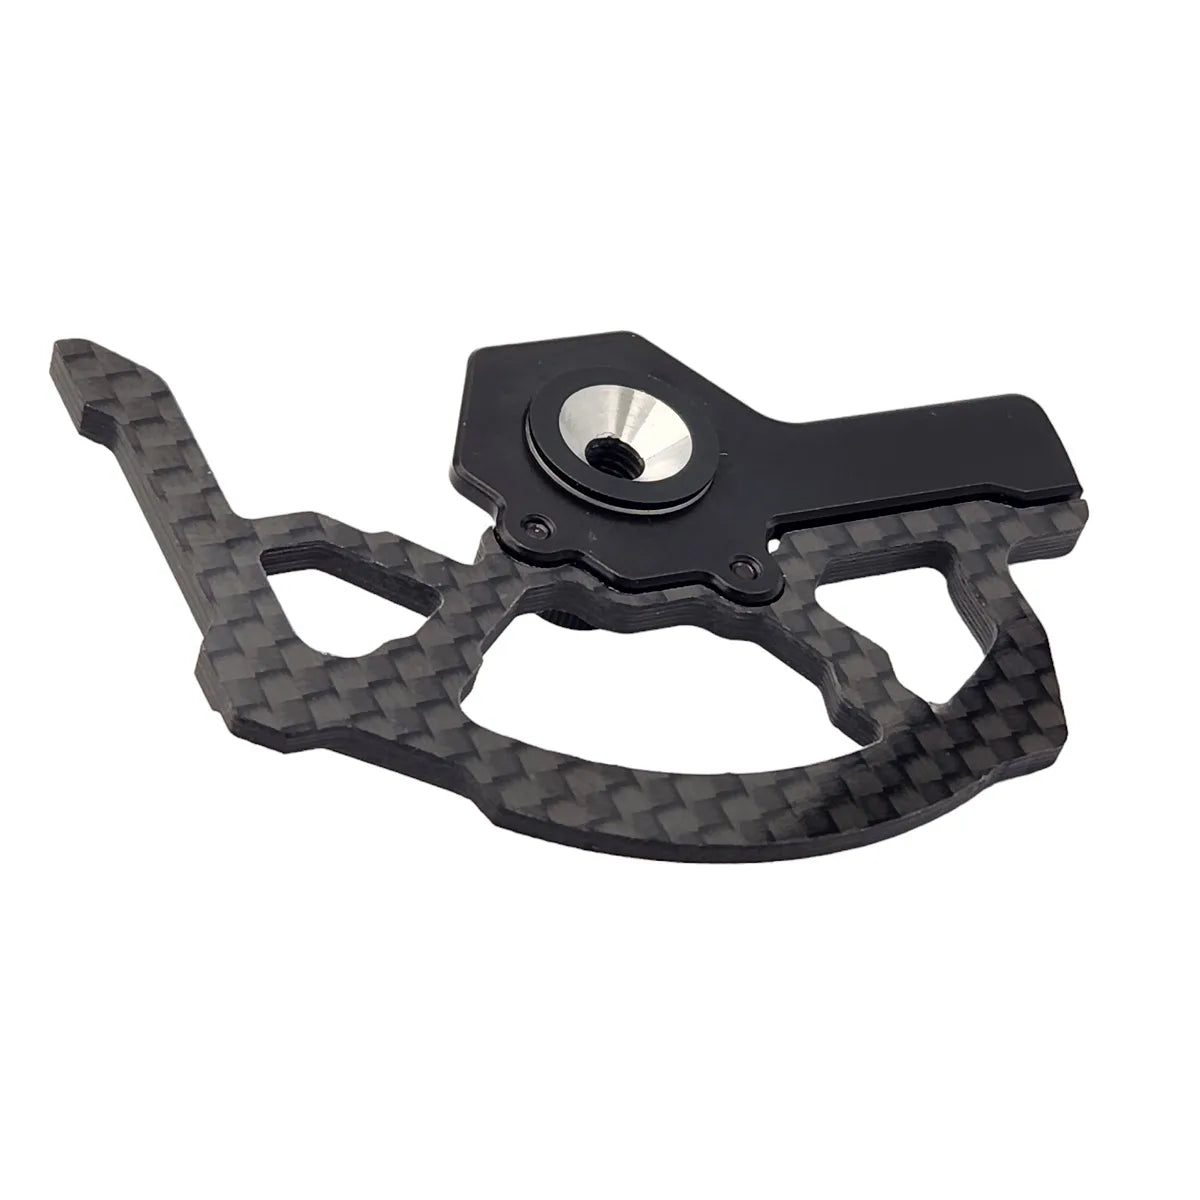
RC MAKER GeoCarbon HD Weighted Tweak Wheel Set Pro 1:10 Onroad
RC MAKER GeoCarbon HD Weighted Tweak Wheel Set Pro 1:10 Onroad
SKU:RCM-WTWSP
Regular price
294,40 zł PLN
Regular price
Sale price
294,40 zł PLN
Taxes included only in EU.
Shipping calculated at checkout.
Country of origin:
Australia
Quantity
Couldn't load pickup availability
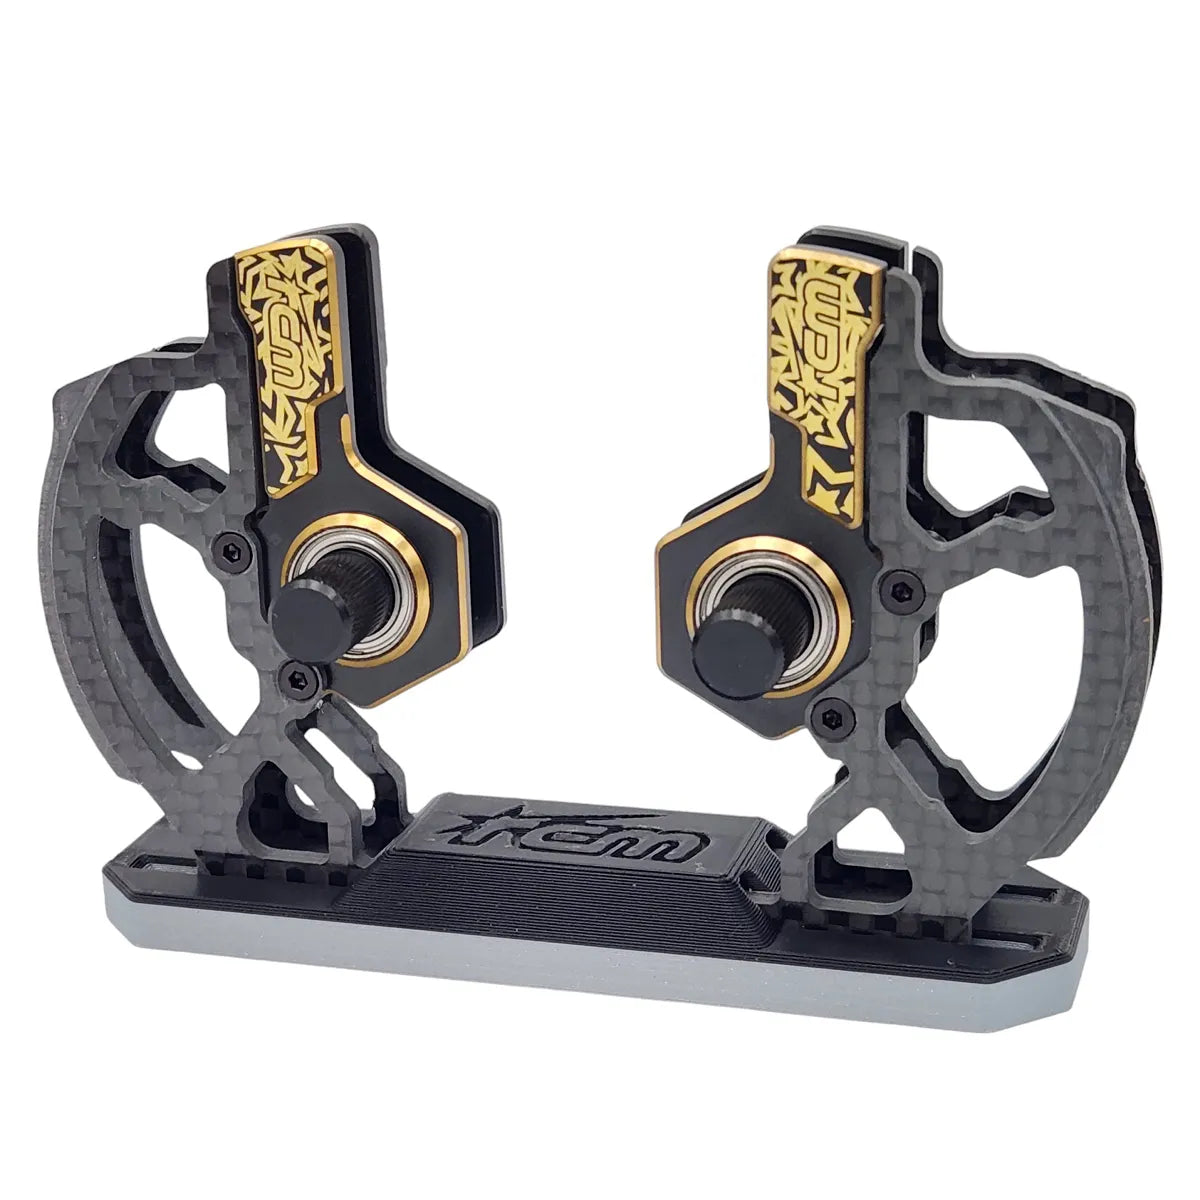
Introducing RC-MAKER latest development. Blackened, innovative and practical! Weighted Tweak Wheel Set Pro for touring cars!
Featuring a sleeker, updated design that also increases the ease of use, durability and accuracy of the tweak wheels!
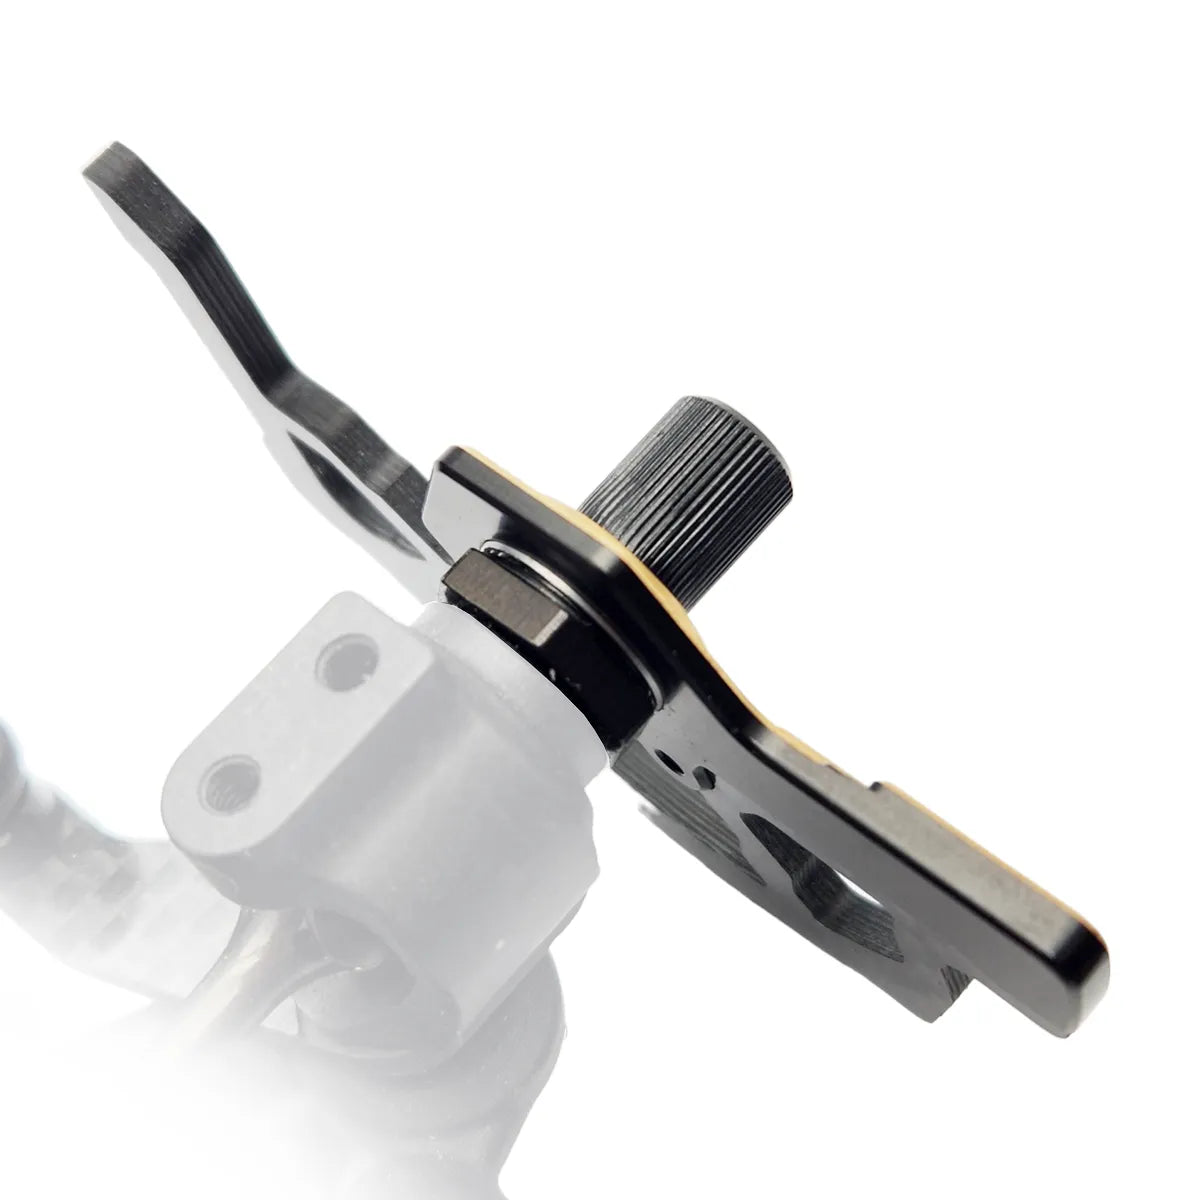
- Longer thumb nuts for easier mounting
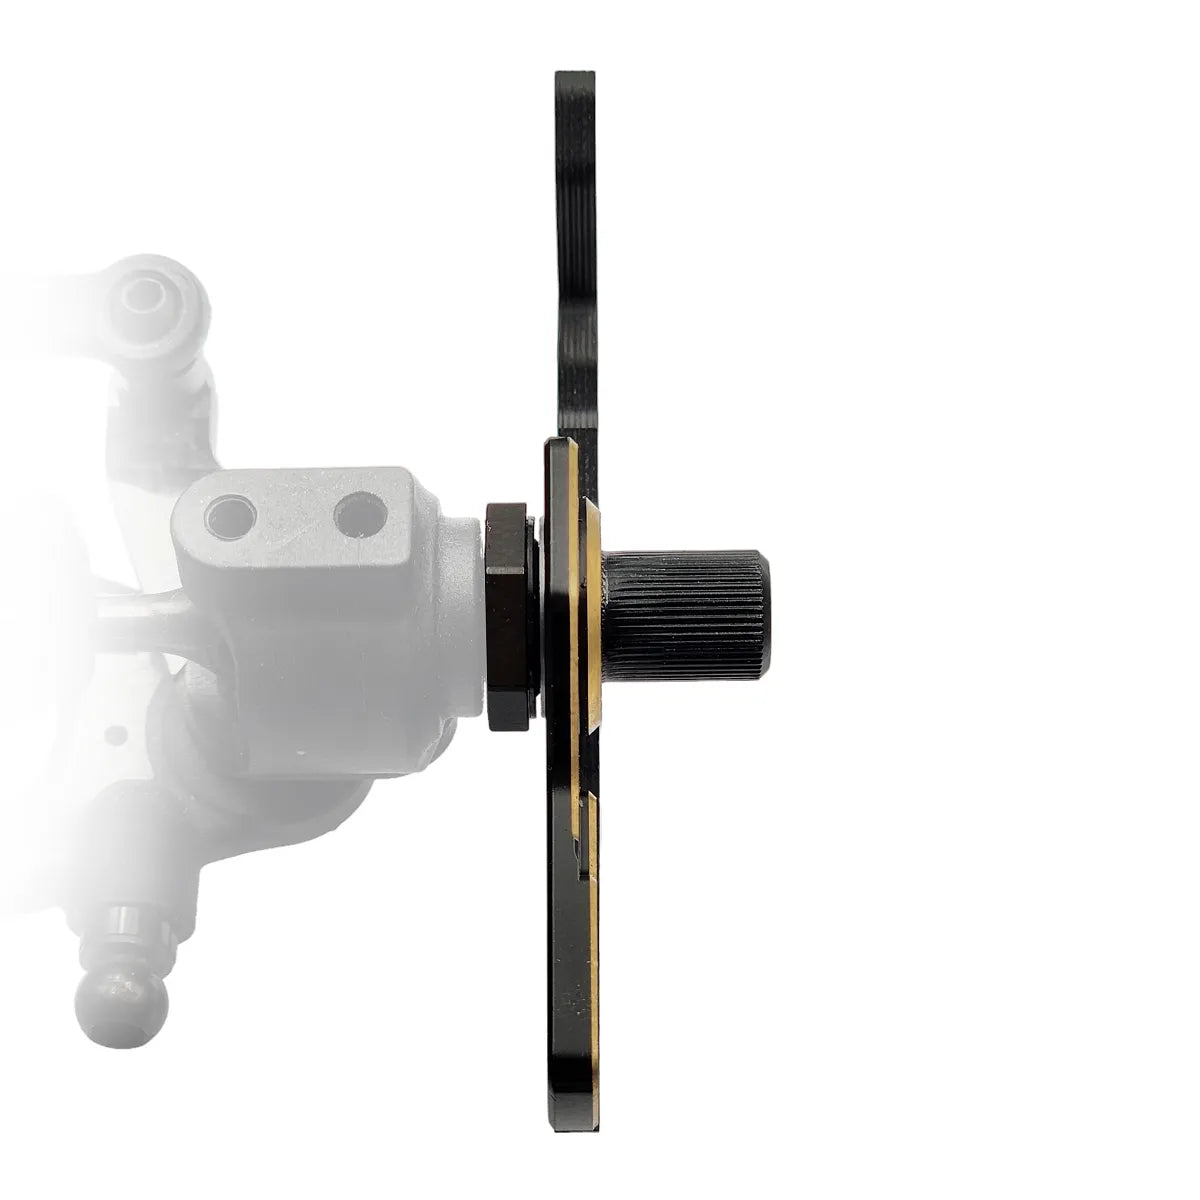
- New bevelled nuts tighten to the hex without washers
- Smaller range of movement after lifting the wheel, for faster reset
- One-piece weight/bulkhead construction for increased rigidity and durability
- High quality two-tone base for easy transportation
- RC-MAKER signature GeoCarbon design
-
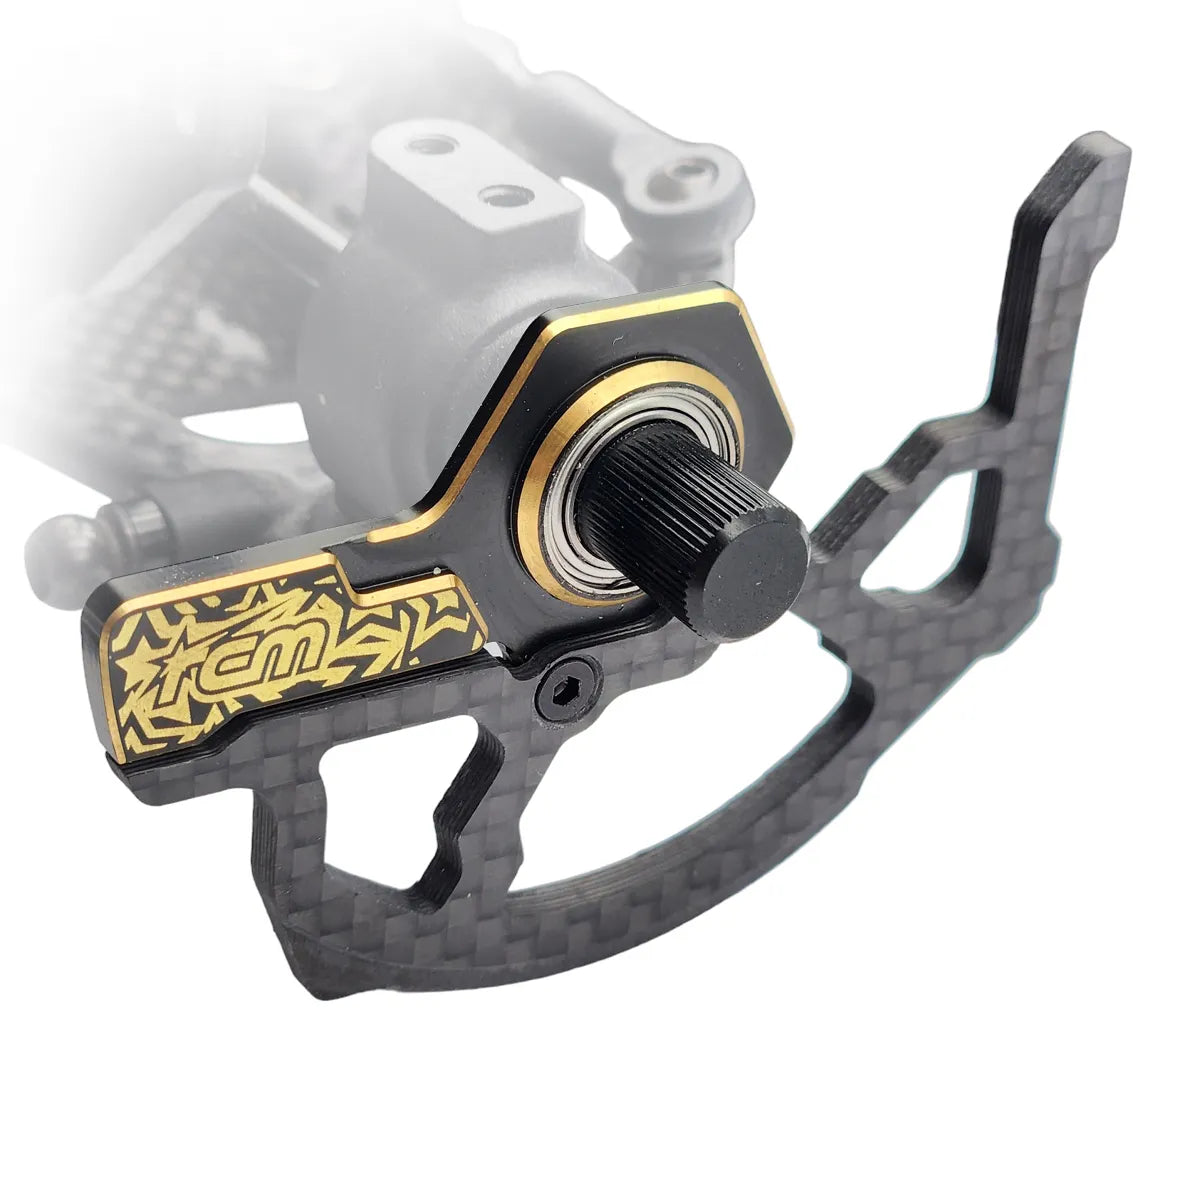
Elegant, bevelled, black coated and laser engraved brass
No more getting down on your knees in the box to see which wheel lifts first. With our weighted tweak wheels, you can easily see which wheel lifts first! The offset weights cause the tweak wheels to rotate as soon as the wheel that lifts first comes off the ground. This allows you to easily determine which tweak adjustment needs to be made to lighten the car.
The set of weighted tweak wheels features ABEC 7 bearings, black 7075 knurled nuts and a black coated and laser engraved front wall/weight!
The nuts are permanently installed in the bearings, which in turn are permanently installed in the brass bulkhead. As a complete assembly, you'll never lose anything as each wheel, nut and bearing are permanently attached to each other.
Rounding out the set is a two-tone 3D Pro Tweak Wheel Stand to keep the wheels together on your pit bench and in your pit bag!
The wheels fit both EP and GP 1/10 touring cars with a standard 4mm axle.
Key Features:
- Lightweight and easy to transport, install and remove
- Guarantees incredible accuracy
- No need to change your body position to see which wheel lifts first, you can observe this from the normal sitting position in the box
- No need to swap front and rear wheels, both pairs are the same and can be used at either end
- Perfectly fitting stand to keep the wheels together and organized on your box bench
- Blackened front wall with laser engraved RCM logo, black 7075 aluminium knurled nuts, ABEC 7 high tolerance bearings with a 3K carbon fibre mount
-
All components are CNC machined and assembled to a very high tolerance
Guide to successfully de-tweaking your chassis
- It is very important that your chassis is flat and the droop is set before performing this process!
- Turn the wheels on the opposite side of the vehicle to be tested so that the flat base is in contact with the setup board.
- Make sure the weighted wheels on the end you are working on are parallel to the ground and the logo is horizontal.
- Push down on both ends of the vehicle to stabilize the suspension, then slowly raise the "spinning" end until one of the wheels begins to rotate; note which wheel that was.
- The wheel that came off first is the side where the collar needs to be unscrewed towards the top of the shock body at the other end of the vehicle. Adjust the wheel by half a turn and also turn it half a turn in the opposite direction on the other side. If, for example, the front left side lifts off too early, unscrew the rear left cuff half a turn and tighten the rear right cuff half a turn.
- Repeat this process until both wheels turn almost simultaneously.
- To do the other end, simply turn the car 180 degrees, turn the wheels that were fixed back to spinning, and the previously spinning ones back to fixed, and repeat the above steps!
Share
